
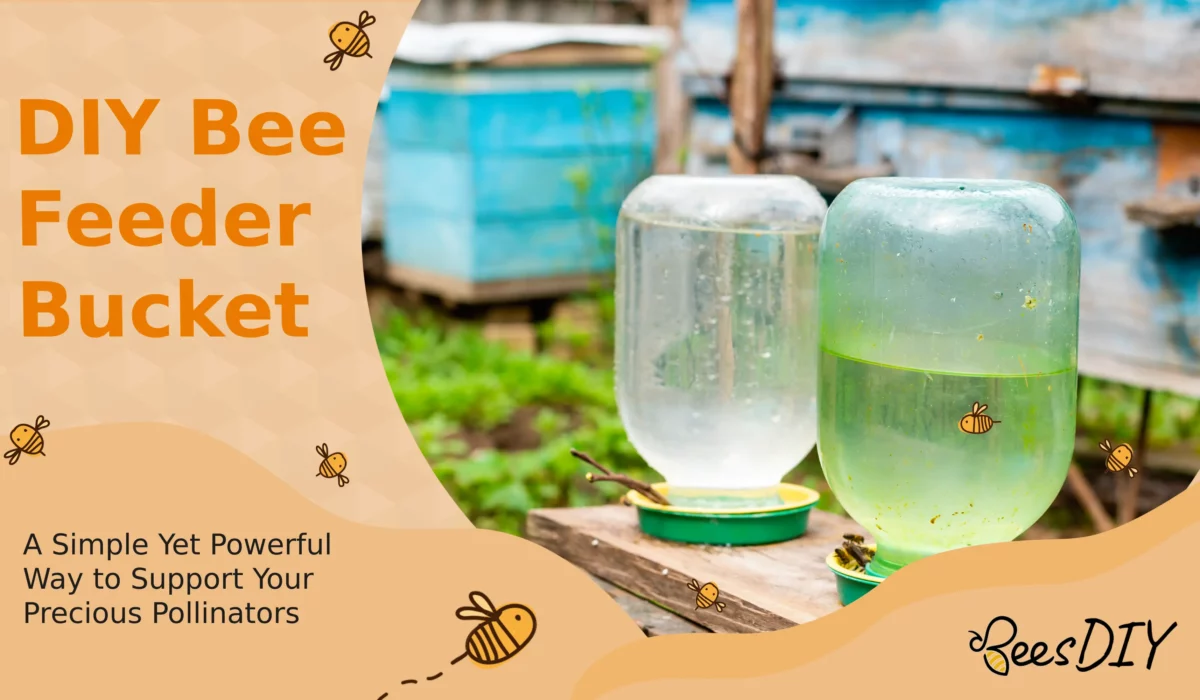
Bees are essential pollinators in our ecosystem, helping to ensure the growth of flowers, fruits, and vegetables. With declining bee populations becoming a global concern, many home gardeners, small-scale farmers, and eco-conscious individuals are looking for ways to support these industrious insects. One simple method to help is by providing a reliable food source, especially during times of nectar scarcity.
This is where a DIY bee feeder bucket can come to the rescue. This guide delves deep into why bees need an extra food source, how a DIY bee feeder bucket can benefit your local bee population, and the detailed steps to create and maintain one. By the end, you’ll have all the information you need to successfully support local pollinators.
Why Bees Need Our Help
In recent years, the decline in bee populations has become more evident. Factors such as habitat loss, pesticide usage, climate change, and diseases like Varroa mites have contributed significantly to the struggle bees face.
The repercussions of declining bee populations include reduced pollination of crops and wild plants, leading to fewer fruits, vegetables, and flowering plants.
Providing supplemental feeding using a DIY bee feeder bucket is one way to lend a helping hand. When natural nectar sources are scarce often in the early spring or late fall bees can benefit greatly from an artificial food supply.
This not only ensures the survival of colonies through lean times but also helps them stay healthy and strong for the vital pollinating work they do the rest of the year.

What Is a DIY Bee Feeder Bucket?
A DIY bee feeder bucket is a homemade feeding station designed to offer bees a quick and easy sugar-water or syrup solution. It typically involves re-purposing or using a new bucket, fitting it with a feeder mechanism such as small holes in the lid or special feeder attachments and placing it in or near a hive.
Bees can then access the sugar solution as needed without drowning or contaminating their feeding area.
Often, the design of a DIY bee feeder bucket is simple enough for anyone to replicate with minimal tools and at a low cost. This approach to providing supplemental food allows individual beekeepers or enthusiasts to tailor the feeder to their specific hive setup and local environment.
Benefits of a DIY Bee Feeder Bucket
- Cost-Effective: A DIY bee feeder bucket can be created using materials you likely already have at home or can easily acquire from a local hardware store.
- Customizable: You have the freedom to adjust size, capacity, and feeding openings to suit your particular bee colonies.
- Time-Saving: By feeding your bees in a communal bucket, you reduce the need to constantly refill multiple feeders.
- Easily Accessible for Bees: The feeder design allows bees to safely land and feed without the risk of drowning in a large syrup reservoir.
- Versatility: A DIY bee feeder bucket can be adapted to different times of the year, adjusting sugar-water ratios or adding pollen substitutes if needed.
Materials and Tools You’ll Need
Before embarking on the step-by-step instructions, gather the following materials and tools for your DIY bee feeder bucket:
- 5-gallon bucket (or another size suitable for your needs) with a tight-fitting lid
- Drill and small drill bit (1/16-inch or smaller)
- Sugar syrup (a mix of white granulated sugar and water)
- Measuring cups
- Bucket handle or rope (if you plan on hanging your feeder)
- Marker or pencil (to mark drill points)
- Protective gear (gloves, beekeeping suit, etc., especially if you’re placing the feeder near an active hive)

Step-by-Step Instructions for Building a DIY Bee Feeder Bucket
The following instructions detail the process to create a DIY bee feeder bucket that can be placed on top of the hive or within easy reach of your bees.
- Choose the Right Bucket
- Select a 5-gallon bucket (or smaller if you have fewer bees) that has a sturdy, tight-fitting lid. This is crucial to prevent syrup leakage and to keep other pests or insects out.
- Ensure the bucket is food-grade if possible. This is especially important if you plan on using it directly with your bee colonies.
- Mark Your Drill Holes
- Flip the lid upside down, and use a marker to mark the spots for drilling.
- Space the holes about 1 to 2 inches apart along a circular pattern near the center of the lid. You’ll need enough holes for bees to access the sugar solution without overcrowding each other.
- Drill the Holes
- With a 1/16-inch drill bit, carefully drill holes at the marked spots.
- A smaller drill bit ensures a slow release of syrup, preventing spills and waste.
- Clean and Inspect
- Wipe away any plastic shavings or debris from the lid.
- Inspect each hole to ensure no plastic bits are clogging the openings.
- Prepare the Sugar Syrup
- A common ratio for bee-feeding syrup is 1:1 sugar to water (by weight) in warmer months, and 2:1 sugar to water (by weight) in cooler months.
- For a 5-gallon bucket, you can mix up your desired quantity based on how long you want the syrup to last.
- Fill the Bucket
- Pour your sugar syrup into the bucket, leaving a few inches of headspace at the top.
- Tightly secure the lid back on.
- Invert the Bucket
- Quickly flip the bucket upside down on a flat surface or directly on top of the hive’s inner cover (if your hive setup allows).
- Because of air pressure and surface tension, the syrup will only drip out until it creates a vacuum seal at the holes. This allows bees to feed through the drilled holes without significant leakage.
- Check for Leaks
- Observe the bucket for any leaks around the lid. If there are any major drips, slightly tighten the lid or reduce the number/size of the holes.
- Once no more syrup is leaking, you can place the feeder where the bees can access it.
- Position the Feeder
- Some beekeepers place the DIY bee feeder bucket directly on top of the hive’s inner cover or inside an empty super box.
- Alternatively, you can place it on a nearby platform within flight range of the hive.
- Ensure the feeder is stable and safe from high winds or predators.

Best Practices for Maintaining Your DIY Bee Feeder Bucket
- Regular Cleaning: Mold and bacteria can quickly grow in sugar-water solutions. Clean your DIY bee feeder bucket at least once every few weeks with warm water and a mild soap. Rinse thoroughly to remove any residue.
- Refilling Sugar Syrup: Keep an eye on how fast bees consume the syrup. Some colonies may go through it quickly, while others might take longer. Refill as necessary, but do not let fermented syrup remain, as it can harm your bees.
- Ant and Wasp Prevention: Place the bucket in an area that’s less accessible to ants, wasps, and other insects. Using moats or sticky traps can help prevent unwanted pests from getting into the feeder.
- Seasonal Adjustments: In early spring and late fall, sugar syrup can be particularly helpful if natural nectar sources are low. However, in seasons of abundant flowers, you may not need to use the DIY bee feeder bucket as frequently.
Alternatives and Variations to Consider
While the DIY bee feeder bucket design is tried and true, there are other variations and methods to explore:
- Internal Hive Top Feeder
Internal hive top feeders are placed directly on top of the hive frames and enclosed within the hive itself. This design reduces exposure to external pests, like wasps and ants, and minimizes the risk of robbing from other bee colonies. These feeders are typically made from plastic or wood and can hold large amounts of syrup, making them convenient during periods of high feeding demand.
- Entrance Feeders
Entrance feeders are positioned at the hive entrance, allowing for easy monitoring without disturbing the hive. They often consist of an inverted jar with holes in the lid, providing syrup directly to foraging bees. While they are simple and accessible, entrance feeders can attract robbers and other unwanted visitors if not monitored closely.
- Boardman Feeders
Boardman feeders are similar to entrance feeders, using a small jar or container with a perforated lid. These feeders are typically placed at the hive entrance, but can also be adapted for internal use if needed. While effective for small colonies or observation purposes, they may not provide sufficient nourishment for larger or more active hives.
- Open Feeding
Open feeding involves placing large containers of syrup in an open area, often at a distance from the hives. This method allows bees from multiple colonies to feed simultaneously. However, open feeding can increase competition, encourage robbing, and potentially spread diseases between colonies. To minimize these risks, it’s best to place open feeders far from the hives and maintain strict hygiene practices.

Additional Tips for Supporting Bees
1. Plant Bee-Friendly Flowers
The best support for bees is natural forage. Plant a variety of flowering plants that bloom throughout the year, giving bees a continuous source of nectar and pollen.
2. Avoid Pesticides
Pesticides can harm bees’ navigation and foraging abilities. If necessary, use organic or bee-friendly alternatives.
3. Provide a Water Source
Bees also need water to cool their hive and dilute honey or syrup. A shallow birdbath with pebbles for landing can make a huge difference.
4. Diverse Habitats
Consider leaving parts of your yard unmowed, providing shelter and nesting sites for solitary bees.
5. Beekeeping Community
Engage with local beekeeping groups or online forums. Learning from experienced beekeepers can help you refine your approach and stay updated on best practices.
Drawing to a Close
Building a DIY bee feeder bucket is a simple yet impactful way to support local bees, especially when natural nectar is scarce. I’ve found that this project takes just a few hours and makes a real difference in keeping bees healthy and active in my garden.
Regular maintenance is key cleaning the feeder, adjusting syrup ratios, and observing how the bees respond ensures they get the right support when they need it. But feeding is just one part of the bigger picture; planting bee-friendly flowers, avoiding pesticides, and providing a freshwater source all contribute to a thriving pollinator environment.
Taking these small steps has made me feel more connected to nature, knowing I’m helping bees flourish for future generations. If you’re looking for an easy, rewarding way to give back to these vital pollinators, making your DIY bee feeder bucket is a great place to start!
Source
https://pollinators.msu.edu/sites/_pollinators/assets/File/FeedingHoneyBees-Final.pdf


